DIY Travel Ornaments
Want more? Watch MOVA DIY Snowflake Wall Art
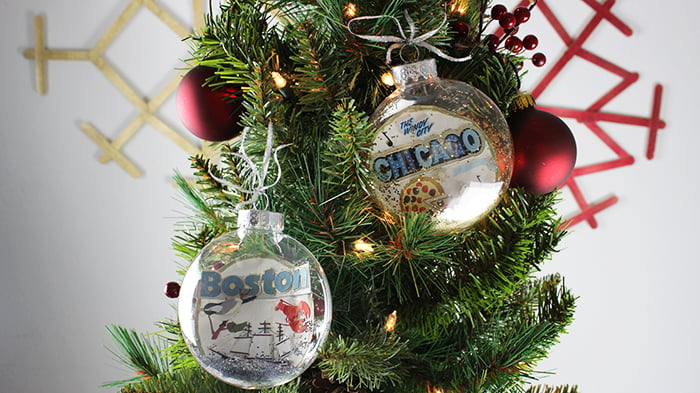
Today, we will be showing you step-by-step how to make travel-inspired ornaments to hang on your Christmas tree. These are a fun way to showcase your travel memories and can also make for great Christmas gifts.
What you’ll need:
- Card stock paper
- Fillable plastic ornaments
- Scrapbooking stickers
- Ribbon
- Scissors
- Glitter
- Marker
Step 1
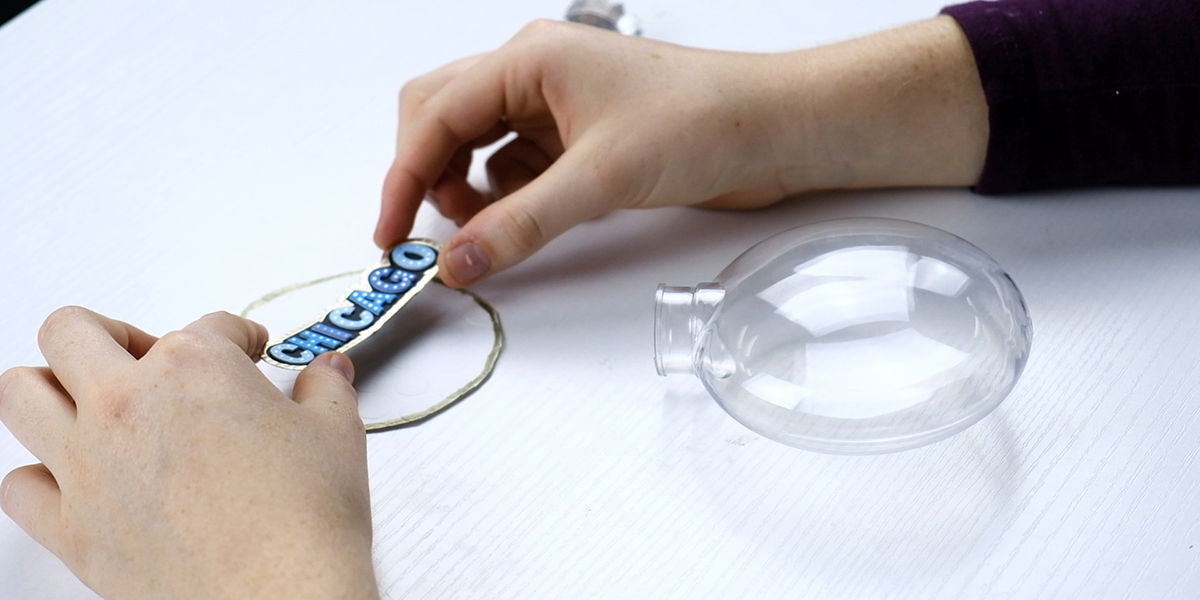
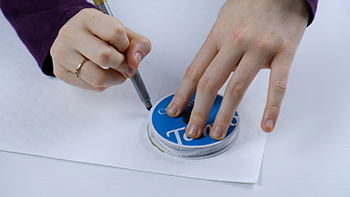
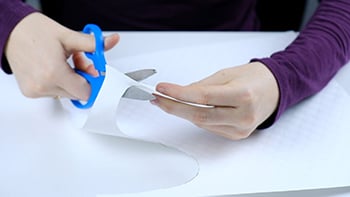
Outline a circle on the card stock paper and cut it out. Make sure the paper circle can fit inside of the plastic ornament.
Step 2
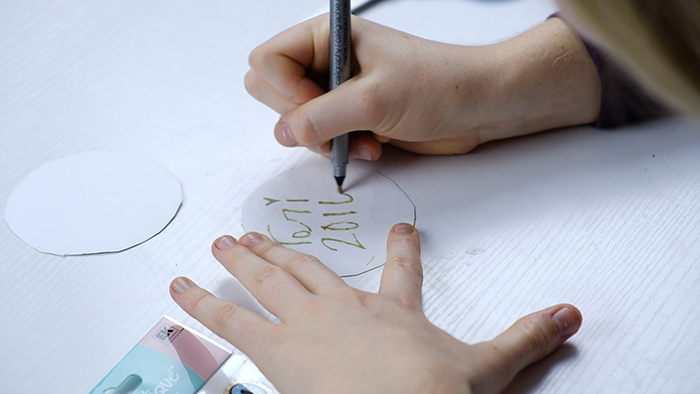
Write a travel memory. On one side of the paper circle, write down what you want to remember most about your trip. What was the best part of your trip? Who did you go with and when? This allows you to reminisce on your adventure each year when decorating your tree.
Step 3
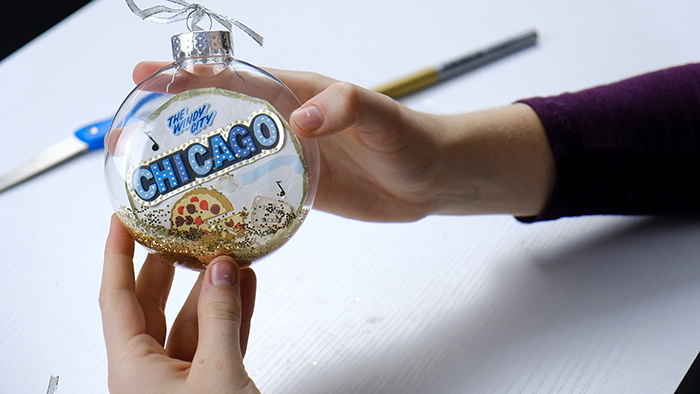
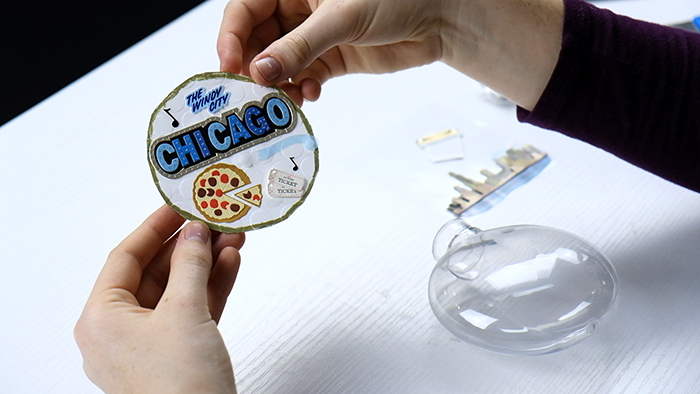
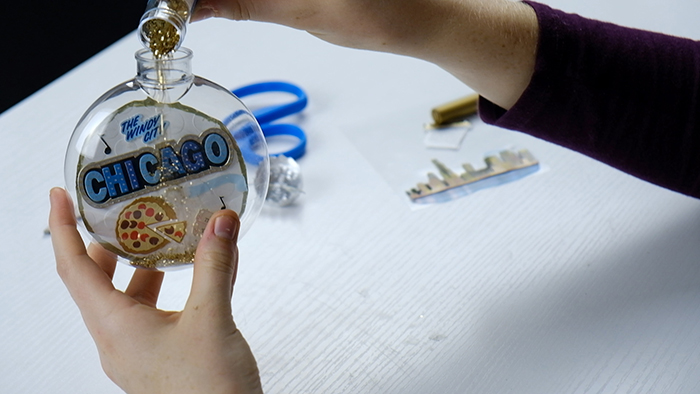
Decorate with your travel scrapbooking stickers. On the other side of the paper circle, place stickers that represent your destination.
Step 4
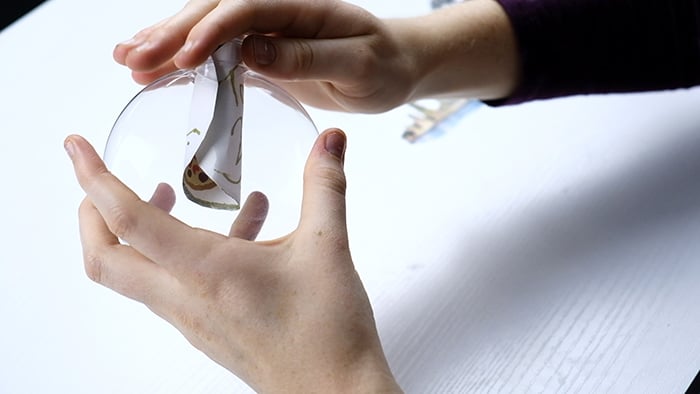
Place paper circle inside of the ornament. Gently roll the paper until it is a suitable size to fit inside of the ornament.
Step 5
Flatten the paper. Using the scissors, you can gently flatten the paper until there are no noticeable curves or creases.

Step 6
Make it flashy. Pour in a bit of glitter so that it sits at the bottom of the ornament.
Step 7
Close ornament and add a ribbon to the top.